*Authorizations are valid for 30 days unless manually released earlier*
-
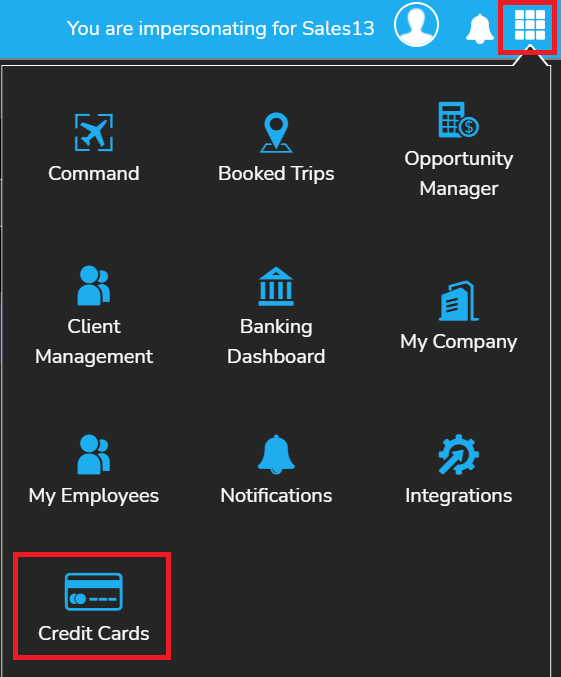
To access "credit cards", click on the waffle menu in the top right-hand corner of your Tuvoli account. .
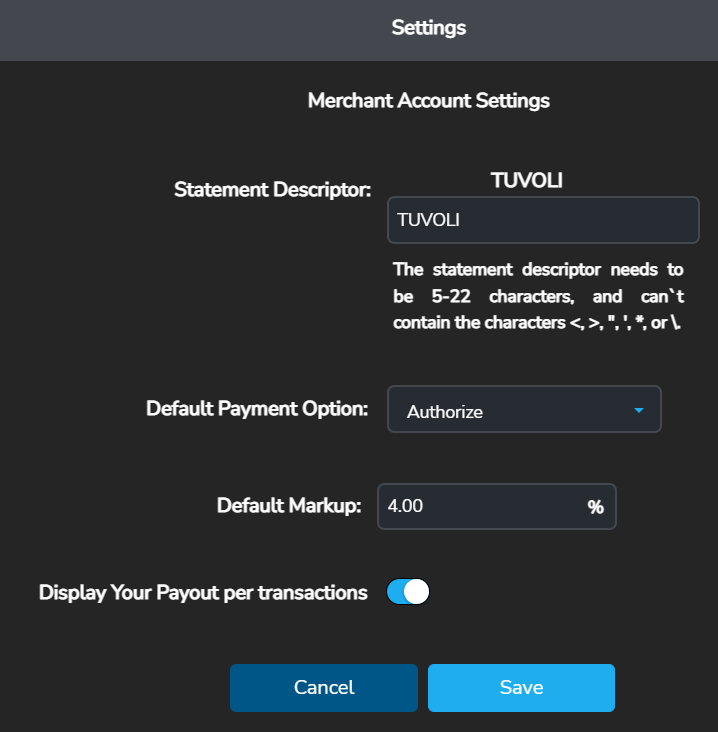
- Settings. Merchant account settings. When you select "credit cards", it will bring you to the credit card dashboard. The system is automatically defaulted to authorize the card only. In order to charge the card, uncheck the "authorize only" box. If you do not authorize cards and only charge, you can update the default to uncheck the authorize only box. To update the default, click on the “settings”
 gear in the credit card dashboard (right above add payment). Change default payment option to “charge” and save.
- Also in settings, is the "statement descriptor". When processing a credit card, the name that will show on the cardholders bank statement is what is written in the "statement descriptor" field
- Also in settings, is the "statement descriptor". When processing a credit card, the name that will show on the cardholders bank statement is what is written in the "statement descriptor" field
-
When running a payment, via “card on file” or “send a payment link”, you can add the cardholder to your customer base while running the transaction or under the Client management feature. If you add them while processing the transaction, they will be saved in Client management. Client Management (where client contacts are stored). This is not necessary when processing a "one-time" credit card charge.
- To add a payment, click “add payment”

-
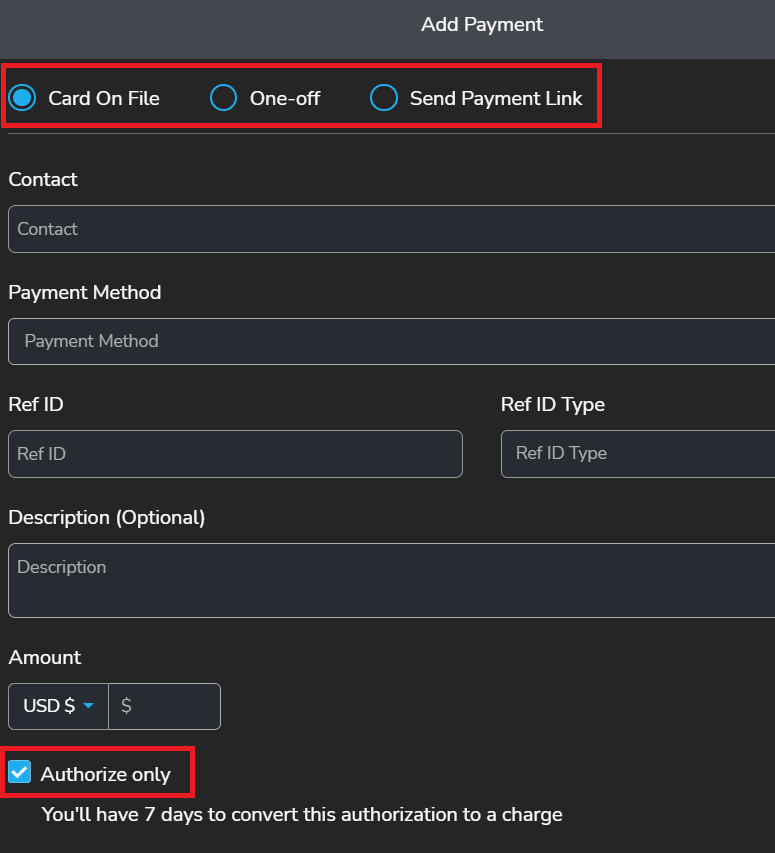
There are three options for authorizing or charging a card: Card on file, One time, Send payment link.

-
Card on file:
-
Enter the client contact name which will be pulled from your Client Management contact list (or you can add them while processing the transaction. Their information will be store for future use) Client Management (where client contacts are stored).
-
Ref id and Ref id type are not required fields however, payments can be filtered using those line items for reporting purposes.
-
Note: The system is automatically defaulted to authorize the card only. In order to charge the card, uncheck the "authorize only" box. If you do not authorize cards and only charge, you can update the default to uncheck the authorize only box. To update the default, click on the “settings” gear in the credit card dashboard (right above add payment). Change default payment option to “charge” and save.

-
-
One off (One off charges should include contact full card details including CVV, Cardholder's name/address and transaction details):

-
Enter full contact and card details. The more information you are able to add, the better. This will assist in protecting you in the event of a chargeback. Obtaining address verification can be an added layer of protection but is not required. For International cards, you are able to remove address verification. In doing this, the state and zip are NOT required but is still advisable.

-
-
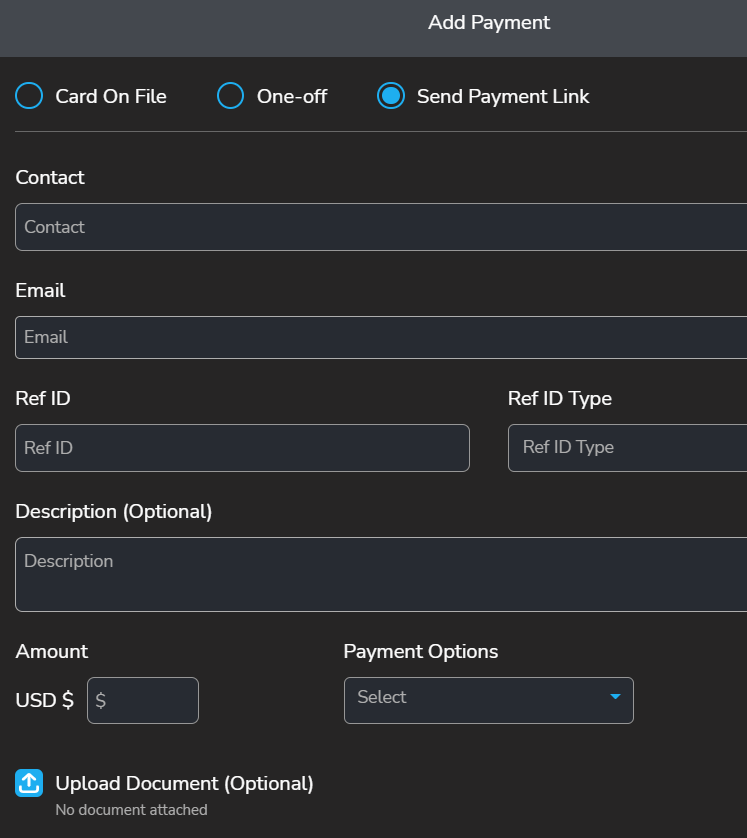
Send payment link: Email a secure payment link to the receiver. No cardholder data is passed from person to person. **Payment links expire 24 hours from when it is sent.**
- Upload any applicable documents to be sent to the receiver (this is not a requirement).
-
Enter the client contact name which will be pulled from your Client Management (where client contacts are stored)
-
Enter description, amount and select payment option to authorize or charge.
-
Upload any applicable documents.
-
When the customer receives the payment link and clicks on "process payment", it will redirect them to a secure 3rd party site to enter payment details. An example what the recipient receives is below. The company logo will be the logo entered on the
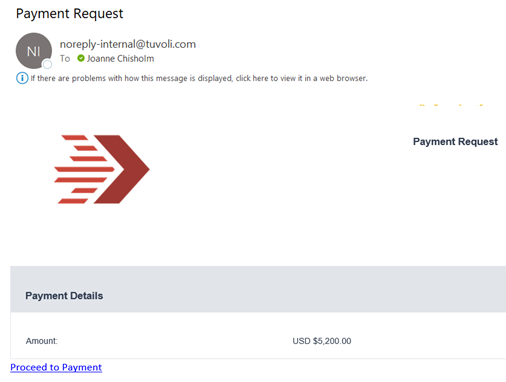
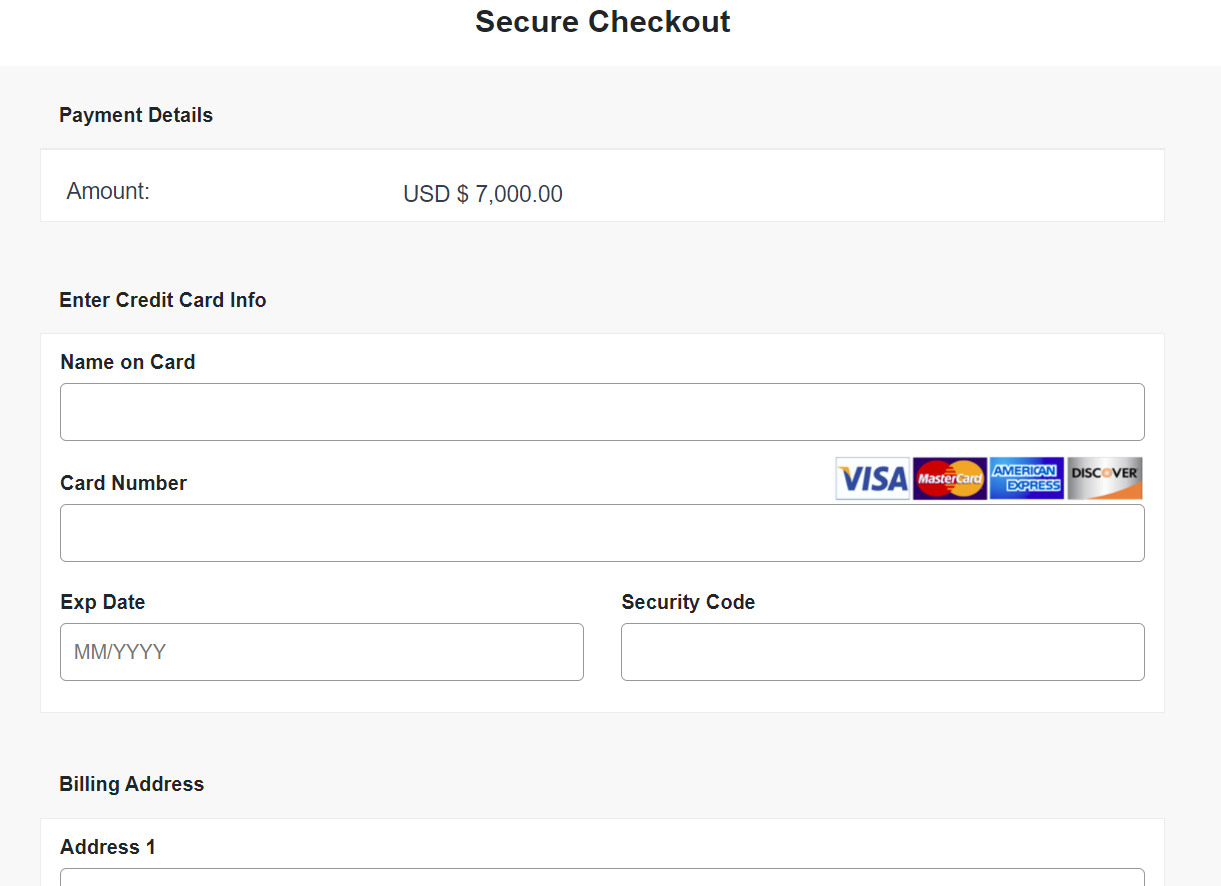
- The receiver will click "proceed to payment" which will redirect them to a secure 3rd party site for payment details to be entered.
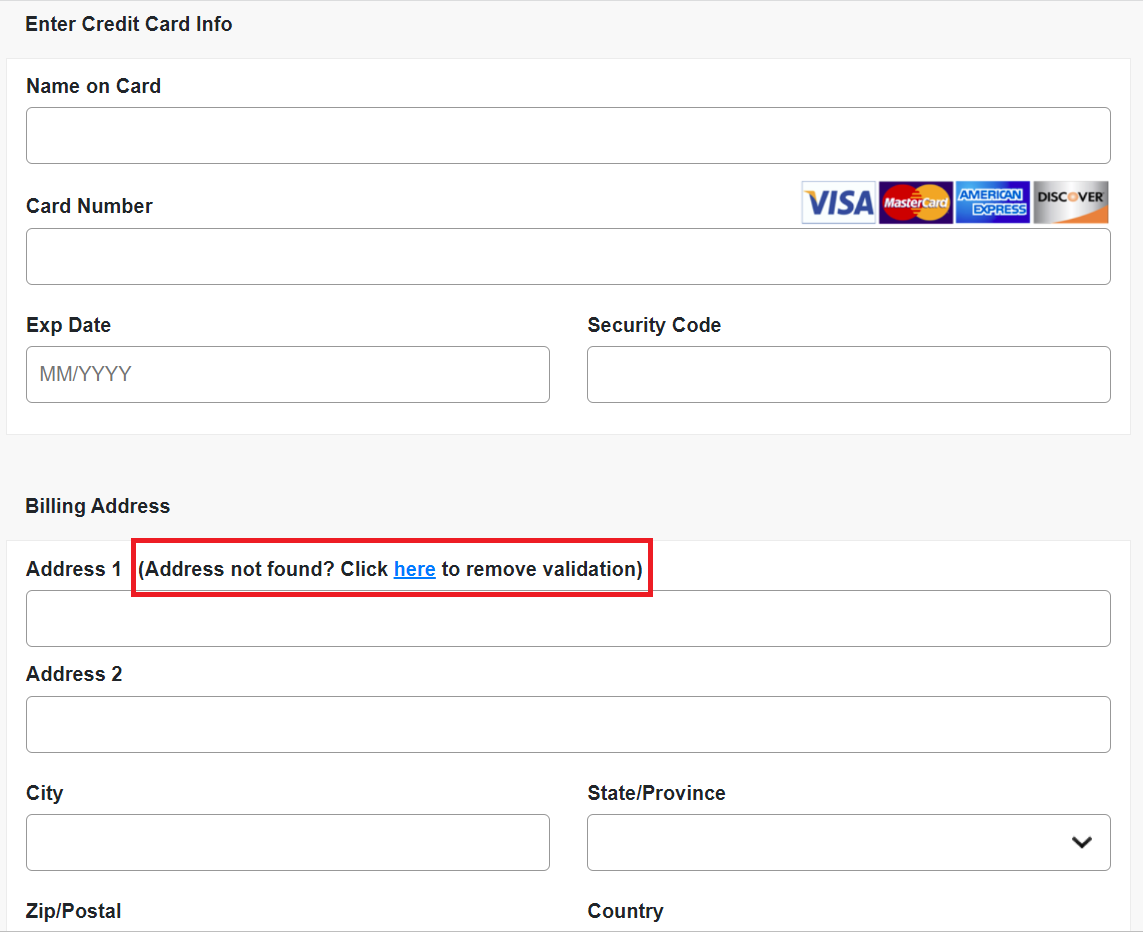
- IF the customer's address is not populating using the google look up, select "click here to remove (address) validation". You will typically run into this when processing credit cards from other countries.
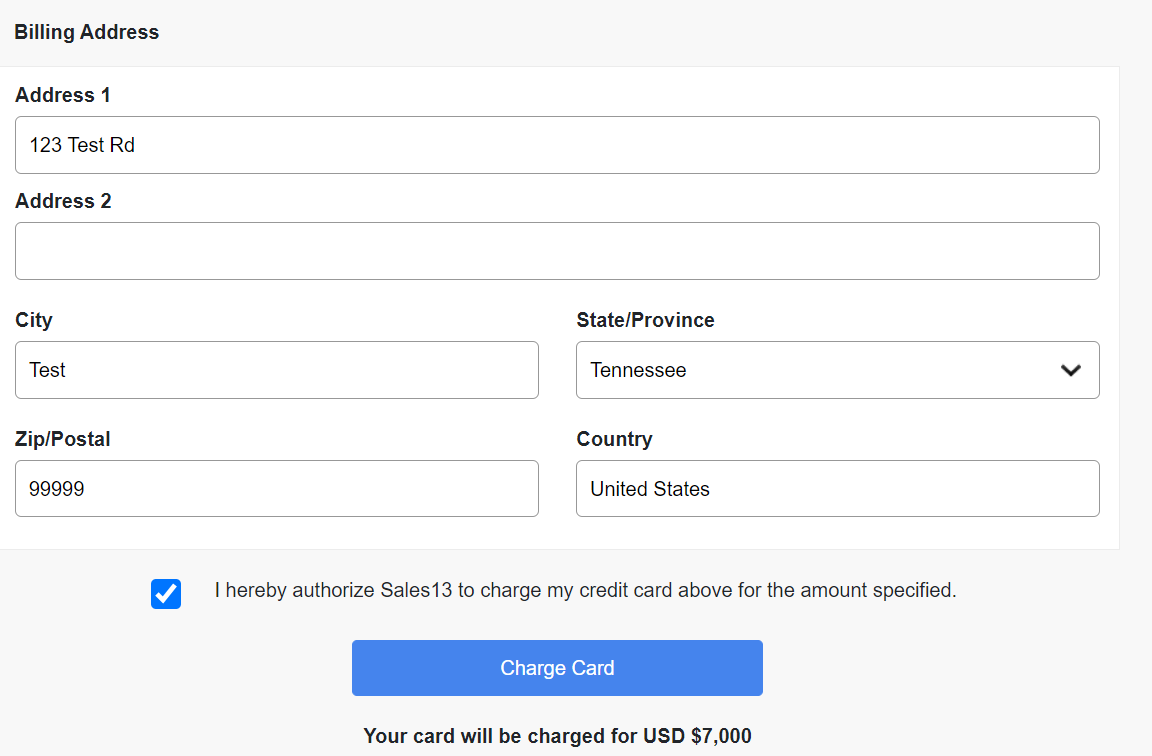
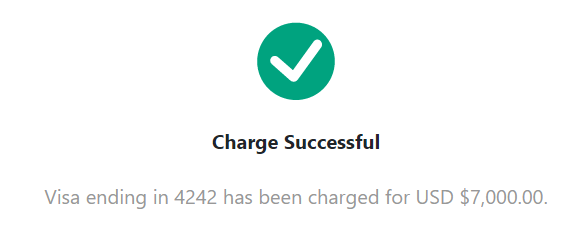
- Once the payment is processed by clicking "Charge Card", the user will receive a notification that the payment was processed.
- Upload any applicable documents to be sent to the receiver (this is not a requirement).
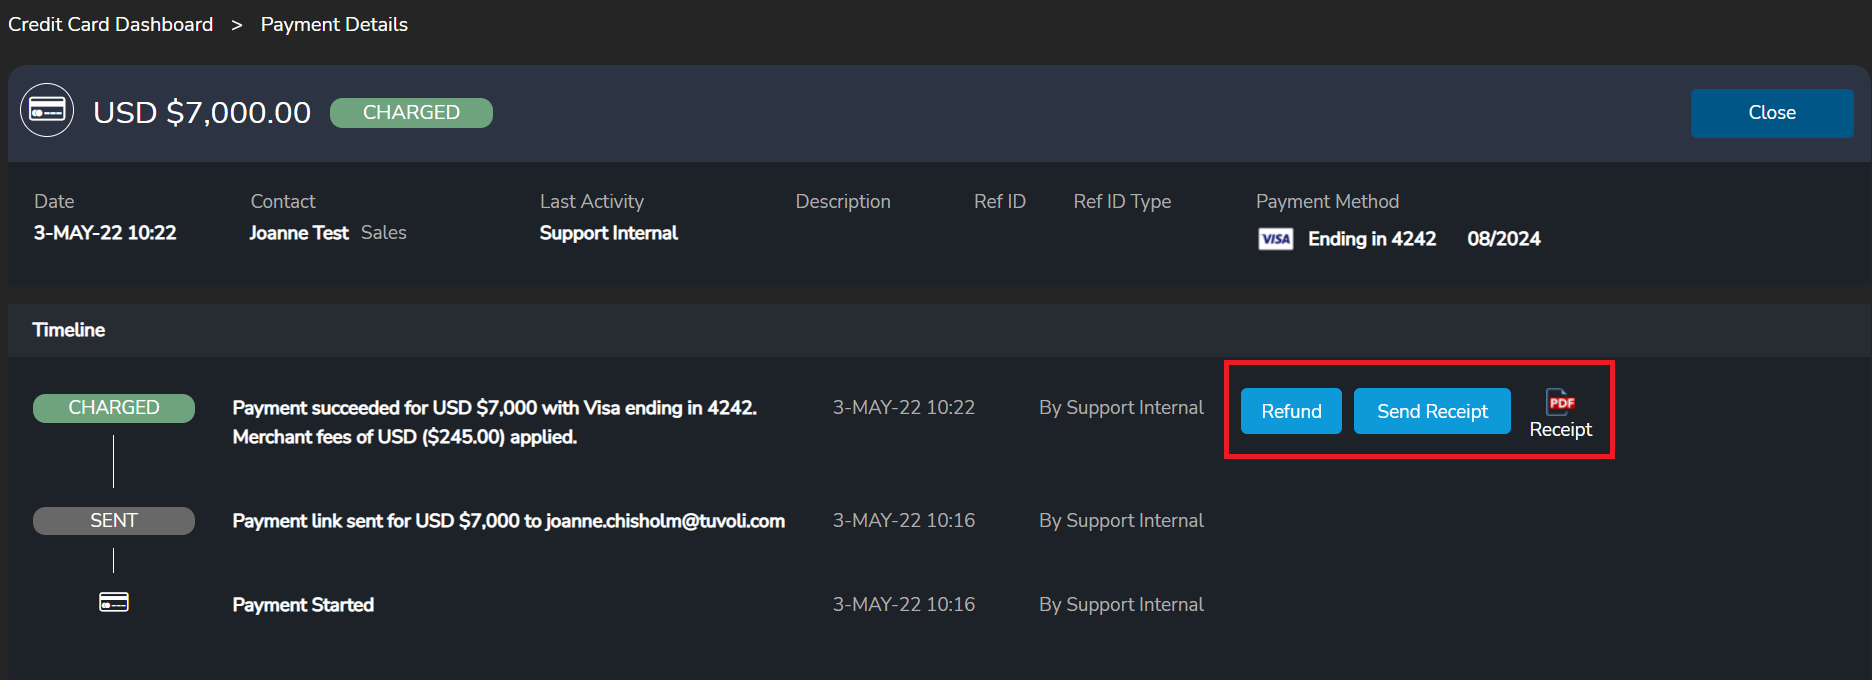
- You can also manually send a receipt. Under transaction history, it will show each transaction. Click "Actions". The options will include: refund, send receipt or download a PDF copy of the receipt.

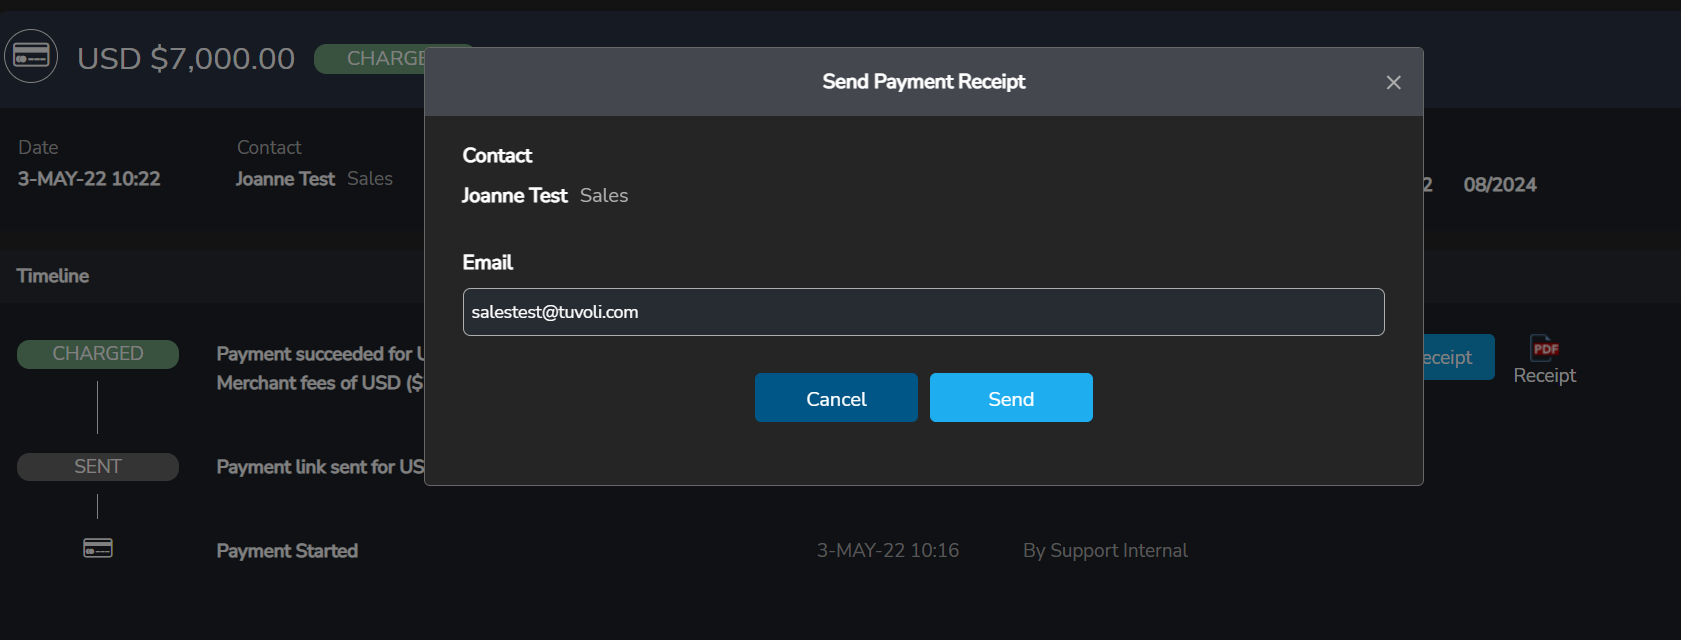
- When a user clicks "send receipt", a pop up will appear asking which email address it should be sent to (only 1 email address can be entered at this time). Once the appropriate email is entered click "send" and a receipt will be forwarded to the intended recipient. If the receipt needs to go to more than 1 person, we suggest you download the PDF and send it via your email.
- When a user clicks "send receipt", a pop up will appear asking which email address it should be sent to (only 1 email address can be entered at this time). Once the appropriate email is entered click "send" and a receipt will be forwarded to the intended recipient. If the receipt needs to go to more than 1 person, we suggest you download the PDF and send it via your email.
- NOTE- When processing a refund, make sure you have the funds available in your Tuvoli Banking dashboard "available balance". Merchant Services- Credit cards (processing a refund)